.jpg)
LED Lighting Guide: Benefits, Fixtures, and Easy Installation Tips
LED Lighting Guide: Benefits, Fixtures, and Easy Installation Tips
Switching your home to LED lighting is one of the simplest, yet most impactful, upgrades you can undertake. It’s not just about saving energy; it’s about improving the quality of light, boosting efficiency, and giving your home a modern edge.
At Haslett Handyman, we’re committed to helping Greater Lansing homeowners make smart, long-lasting investments. Here is our complete guide to understanding, choosing, and installing LED lights and fixtures.
The Three Major Benefits of Switching to LED
If you’re still using traditional incandescent or CFL bulbs, you are missing out on massive savings and superior performance. Here are the three reasons why LEDs dominate the market:
1. Massive Energy Savings (The ROI)
LEDs (Light Emitting Diodes) operate on a fundamentally different principle than older lighting types, emitting light without wasting most of their energy as heat. This results in direct and immediate savings on your utility bill.
- Efficiency: LEDs consume up to 80% less energy than traditional incandescent bulbs to produce the same amount of light.
- Financial Impact: Replacing just your most-used lights with LEDs can save hundreds of dollars over the lifetime of the bulbs.
2. Extreme Longevity and Durability
An LED bulb is not just a light source; it’s a solid-state piece of technology. This design grants them an incredible lifespan, reducing your maintenance headaches.
- Lifespan: A quality LED bulb is typically rated for 25,000 to 50,000 hours of use. This means a bulb running four hours a day can last for over 17 years!
- No Replacement Hassle: For hard-to-reach fixtures (like tall foyers or exterior lights), the reduced need for bulb changes is a major win for safety and convenience.
3. Superior Light Quality and Control
LED technology offers precision control over brightness and color temperature, giving you total control over your home's ambiance.
- Color Temperature (Kelvins): LEDs allow you to choose light color, from warm, yellow-hued Soft White (2700K) for bedrooms to bright, blue-white Daylight (5000K+) ideal for workshops and kitchens.
- Instant Brightness: Unlike CFLs, LEDs deliver 100% of their brightness instantly, with no warm-up period required.
Choosing the Right LED Fixtures and Applications
LEDs are no longer limited to basic replacement bulbs. They are now integrated into fixtures for specialized lighting needs.
1. LED Replacement Bulbs (A-Series)
The simplest swap! These are the standard screw-in bulbs (like the common A19) that fit into existing lamps and ceiling fixtures. When shopping, match the equivalent wattage (e.g., a 10W LED replaces a 60W incandescent) and ensure the base type is correct (e.g., E26 standard base).
2. Recessed Lighting Conversions
Recessed (or "can") lights are a prime spot for LED upgrades. Instead of replacing the entire can, you can often use an LED retrofit kit. This kit is essentially a self-contained LED fixture that screws into the existing socket and clips securely into the housing, giving you a clean, modern look.
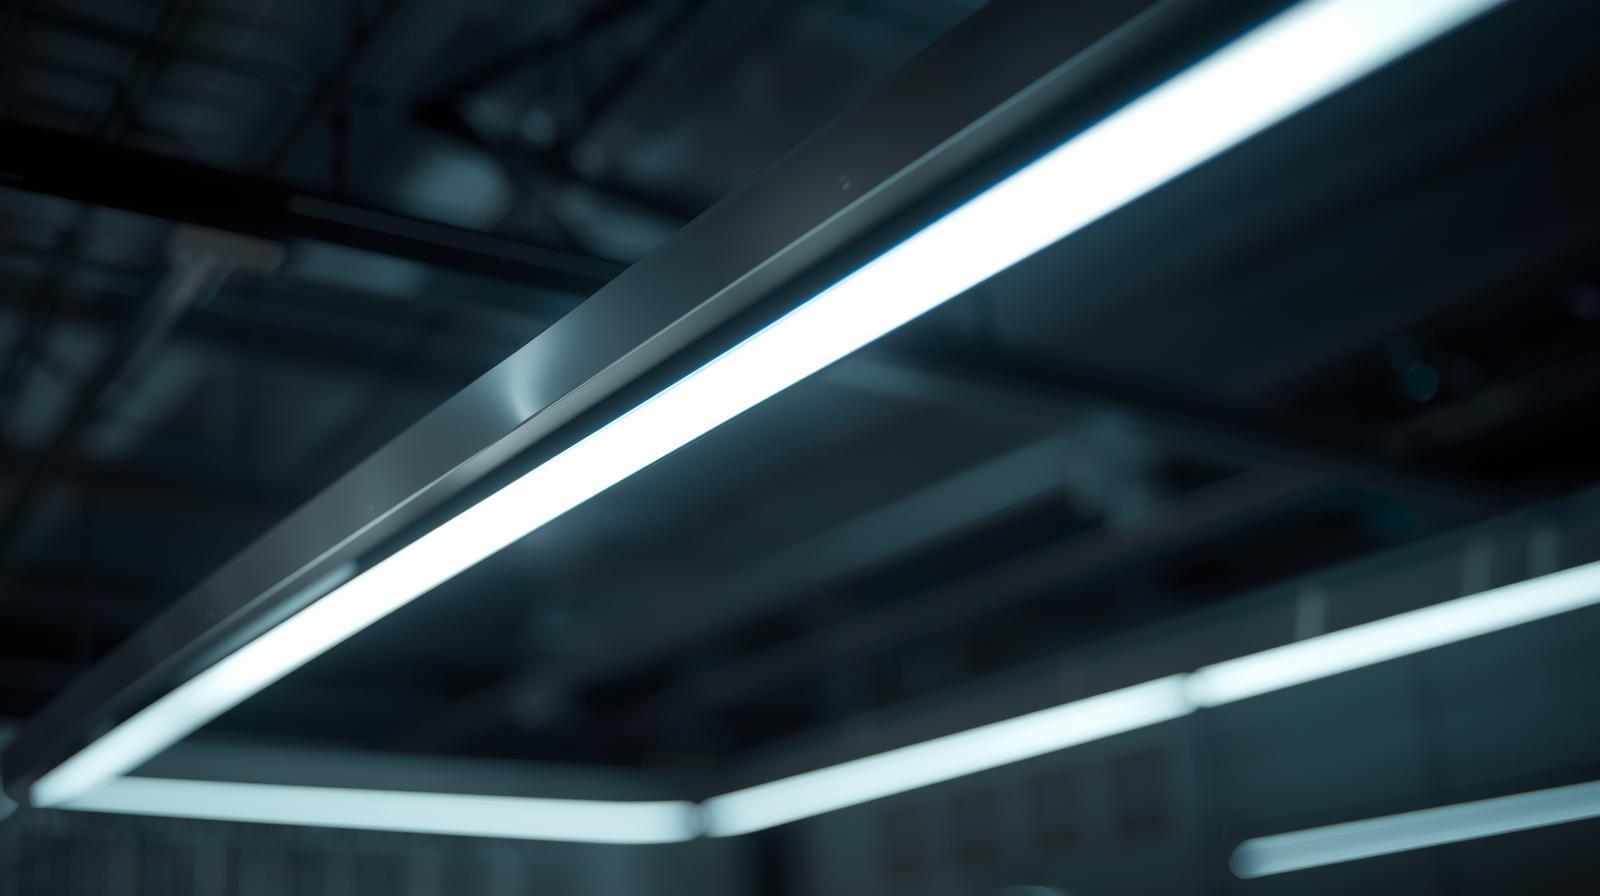
3. LED Strip Lighting (Accent Lighting)
LED strips are thin, flexible, and powerful, making them perfect for accent lighting.
- Under-Cabinet Lighting: Easily the most popular use. LED strips provide bright, shadow-free task lighting on kitchen countertops.
- Cove Lighting: Used to illuminate ceilings or crown molding, creating a soft, ambient glow that emphasizes architectural details.
Easy Installation Tips for the DIY Homeowner
While replacing a bulb is simple, installing new fixtures or strips requires a few extra steps.
Tip 1: Safety First—Always Shut Off the Power
Before touching any wiring or replacing a hardwired fixture, turn off the power at the circuit breaker. This is the single most important safety step. Double-check that the power is off using a non-contact voltage tester.
Tip 2: Verify Dimmer Compatibility
Not all LED bulbs work with old-school dimmers designed for incandescents. Using an incompatible dimmer can lead to flickering, buzzing, or premature bulb failure.
- The Fix: Purchase LED bulbs clearly marked as "Dimmable" and ensure your dimmer switch is a modern "LED-compatible" electronic low-voltage (ELV) or specialized LED dimmer switch.
Tip 3: Check Ratings for Exterior Use
If you are installing LEDs outside, the bulb or fixture must be rated for outdoor use.
- "Damp-Rated" is suitable for covered porches or areas protected from direct water exposure.
- "Wet-Rated" is required for any fixture directly exposed to rain, snow, and sprinklers.
Ready to Brighten Up Your Home?
From simple bulb swaps to complex recessed lighting installations, switching to LED technology is a project that pays for itself quickly.
If you have a complex installation—like wiring a new strip light system, replacing older dimmer switches, or installing new recessed fixtures—the team at Haslett Handyman is here to help. We ensure every fixture is installed safely, to code, and perfectly integrated with your home’s design.
Contact us today to discuss your next lighting project!