Stop the Leaks: How to Waterproof Your Bathroom Floor and Prevent Mold Forever
Stop the Leaks: How to Waterproof Your Bathroom Floor and Prevent Mold Forever
In our previous guide, we outlined the Haslett Handyman Blueprint for planning a perfect bathroom remodel. If Step 3 emphasized durability, then Step 4—Execution—puts its star player on center stage: Waterproofing.
Water is the number one enemy of a bathroom remodel. Without a proper waterproofing system, your beautiful new tile and grout are just decorative surfaces over porous materials, leaving the wood structure of your subfloor and walls vulnerable to leaks, rot, and aggressive mold growth.
This is the essential guide to ensuring your bathroom is genuinely waterproof, protecting your investment for decades to come.
Why Waterproofing is Non-Negotiable
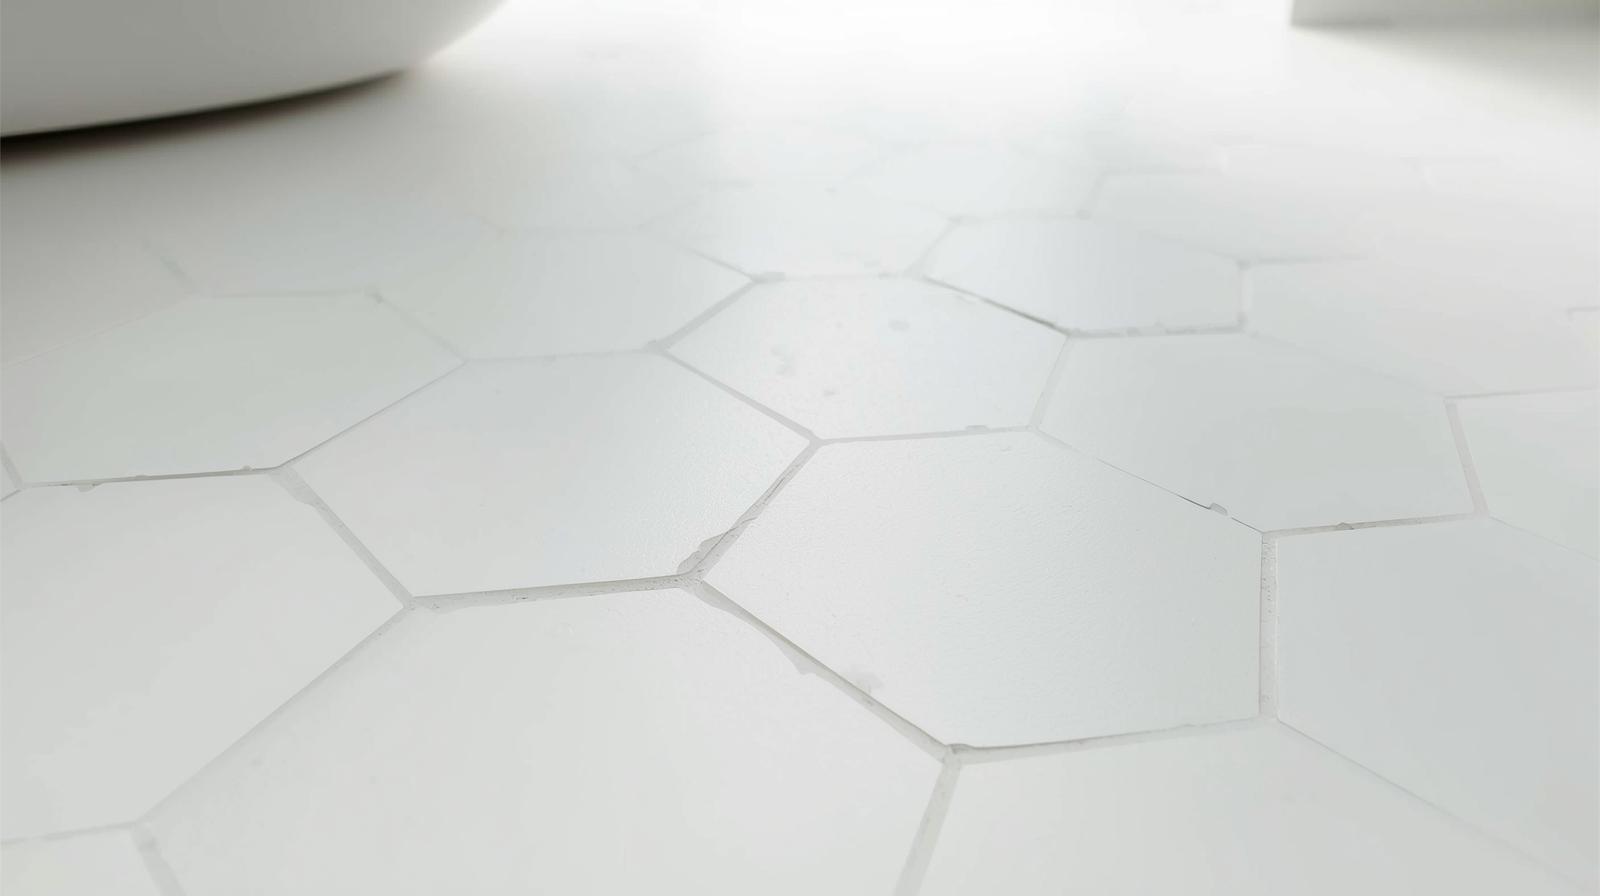
Tile and grout are not waterproof. Grout is porous, and even tiny pinholes or hairline cracks in the mortar bed will allow moisture through. This water eventually reaches the materials behind the tile (like drywall or wood studs), leading to:
- Structural Damage: Wood rot in the subfloor, floor joists, and wall studs.
- Health Hazards: Mold and mildew, which require costly remediation.
- Tile Failure: The movement caused by water absorption and subsequent drying can cause tiles to loosen and pop off.
The Golden Rule: The waterproofing layer must be a continuous, sealed barrier beneath the tile.
Key Area 1: The Bathroom Floor (Outside the Shower)
While the shower enclosure is the highest risk area, the entire bathroom floor needs protection, especially around the toilet and vanity.
1. Preparation of the Subfloor
Ensure your subfloor (typically plywood or OSB) is stable, clean, and dry. If you are replacing any sections due to water damage, use exterior-grade plywood or cement backer board.
2. Applying Liquid Waterproofing Membrane
The easiest and most effective way to waterproof the general floor area is with a liquid membrane:
- Materials: Liquid waterproofing membrane (e.g., RedGard, AquaDefense) and a roller or brush.
- Application: Roll the liquid membrane evenly across the entire floor surface. Pay special attention to the seams and corners, which are highly susceptible to movement.
- Cure Time: Apply according to manufacturer instructions, usually requiring two coats and adequate cure time (it often changes color when cured, indicating it's ready for the second coat or tile).
This layer creates a flexible, monolithic rubber coating that water cannot penetrate, even if your tile grout cracks later.
Key Area 2: The Shower Enclosure (The Foundation)
The shower is a contained pool of water, demanding the highest level of detail and specialized products.
1. The Shower Floor/Pan
This is the most critical component. Water must be directed efficiently to the drain.
- Pre-Sloped Shower Pan: For the easiest and most reliable installation, use an integrated pre-sloped foam or plastic pan system (like those from Schluter or Laticrete). These systems guarantee the necessary slope (at least 1/4 inch per foot) towards the drain and eliminate the risk of improperly mixed mortar.
- Traditional Mortar Pan: If building a custom slope with mortar, you must embed a sheet membrane (like vinyl or rubber liner) under the mortar bed and run it up the curb and walls.
2. The Shower Walls
Whether you use cement board or specialized foam backer board, the surface must be waterproofed.
- Cement Backer Board: While moisture-resistant, it is not waterproof. You must coat it entirely with two layers of liquid waterproofing membrane, overlapping the shower pan system to create a continuous seal.
- Schluter System (Membrane): This method uses specialized foam board and a polyethylene sheet membrane (KERDI) applied directly to the wall and floor structure. All seams and corners are sealed with specialized sealing band and mortar, creating a guaranteed waterproof envelope. This is considered a gold standard in the industry.
3. Sealing the Penetrations
Every hole in the waterproofing layer is a weak point.
- Faucets and Shower Heads: Use specialized sealing collars or cutouts from the waterproofing membrane to wrap around the plumbing pipes before the valves are installed.
- Shower Drain: Ensure the drain flange is properly connected to the waterproofing system (either sheet or liquid) according to the manufacturer's directions. This connection point is where most leaks originate.
Final Steps: Grout, Caulk, and Maintenance
Once your waterproofing membrane is installed, inspected, and cured, you can proceed with setting tile and grouting.
- Use the Right Caulk: Use 100% silicone caulk—not grout—in all changes of plane: where the floor meets the wall, where the wall meets the ceiling, and where the shower base meets the walls. Silicone caulk is flexible and waterproof; grout is rigid and will crack at these stress points.
- Seal the Grout: After the cement grout has fully cured (allow several days), apply a high-quality grout sealer to provide an additional layer of moisture and stain resistance.

By focusing on these essential waterproofing steps, you move beyond just installing pretty tile and build a robust, leak-free, and mold-resistant bathroom that will stand the test of time.
If you’re taking on a full shower system and need professional guidance on which membrane to choose or how to handle complex drain connections, don't hesitate to call Haslett Handyman—we are your local experts in making sure the job is done right, the first time.
.jpg)

